Using Scalismo in an IDE
In this article we describe how to set up Scalismo such that it can be used to program shape modelling applications from IntelliJ IDEA.
To install IntelliJ, go to the IntelliJ Idea download page, download the Community edition and follow the installation instructions. Once we have installed IntelliJ, we will to install the Scala plugin. This is installed and enabled from within IntelliJ, as described here.
Create your first scalismo project
After the Scala plugin has been installed and you see the welcome screen, choose File->New->Project.
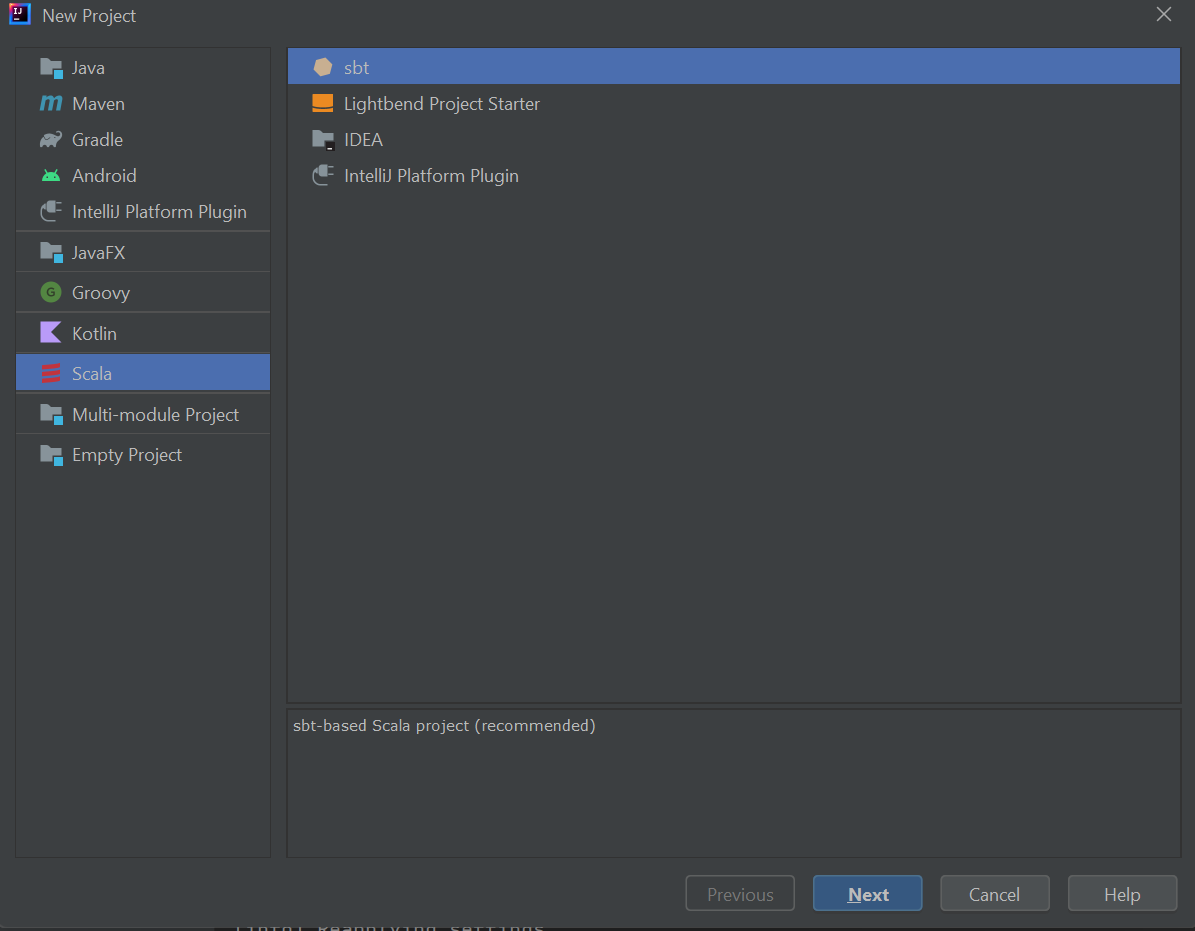
Choose Scala and sbt in the following dialog and press the next button.
In the following dialog, enter a project name and location. If you are on MacOS,
choose the JDK you have installed in the previous step. For all the other options,
you can keep the proposed default values.
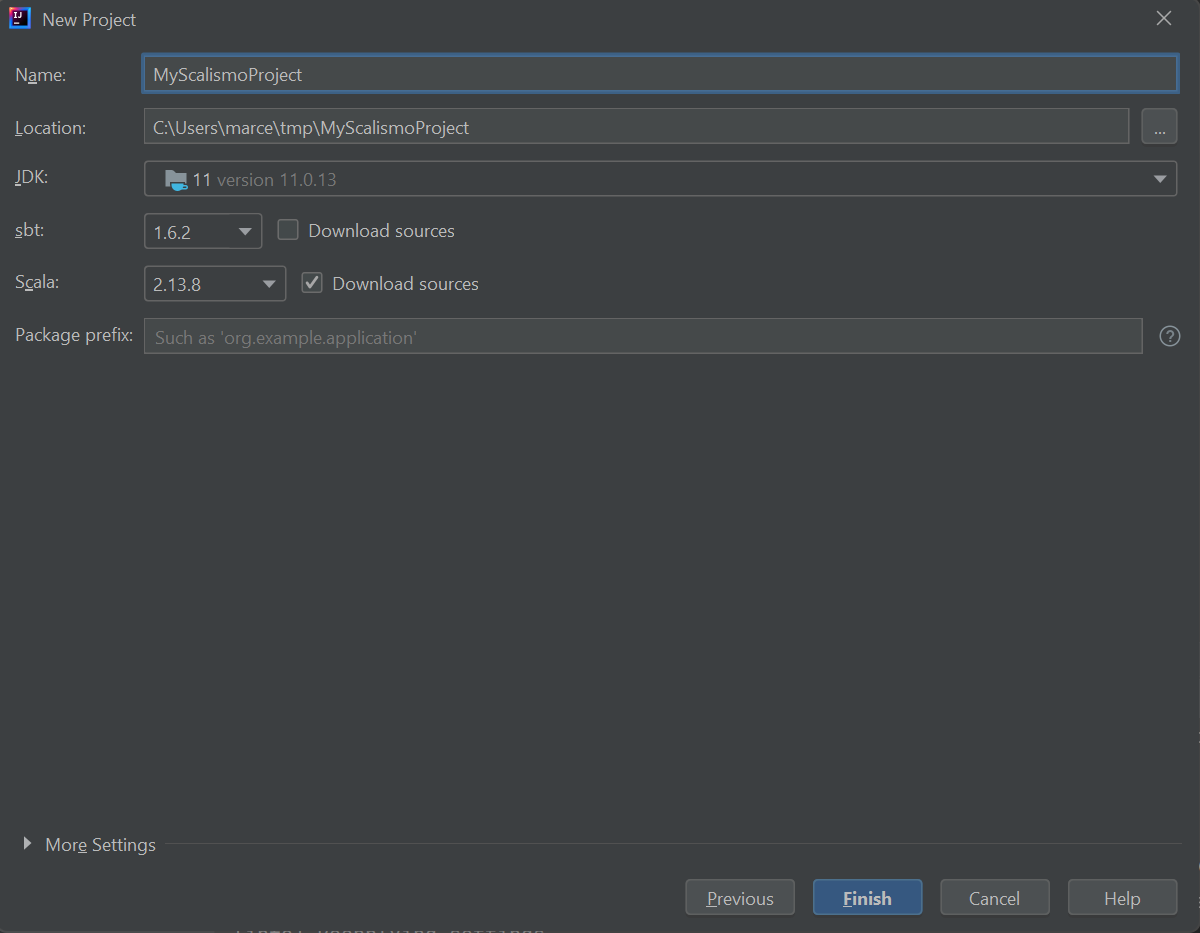
Then continue by clicking onto the Finish button.
Now the IDE should set up the project. When you start the IDE for the first time, there is a lot of processing that is done in the background and it might take a few minutes before the project is ready for use. In the bottom right you can spot an indication for the ongoing work.
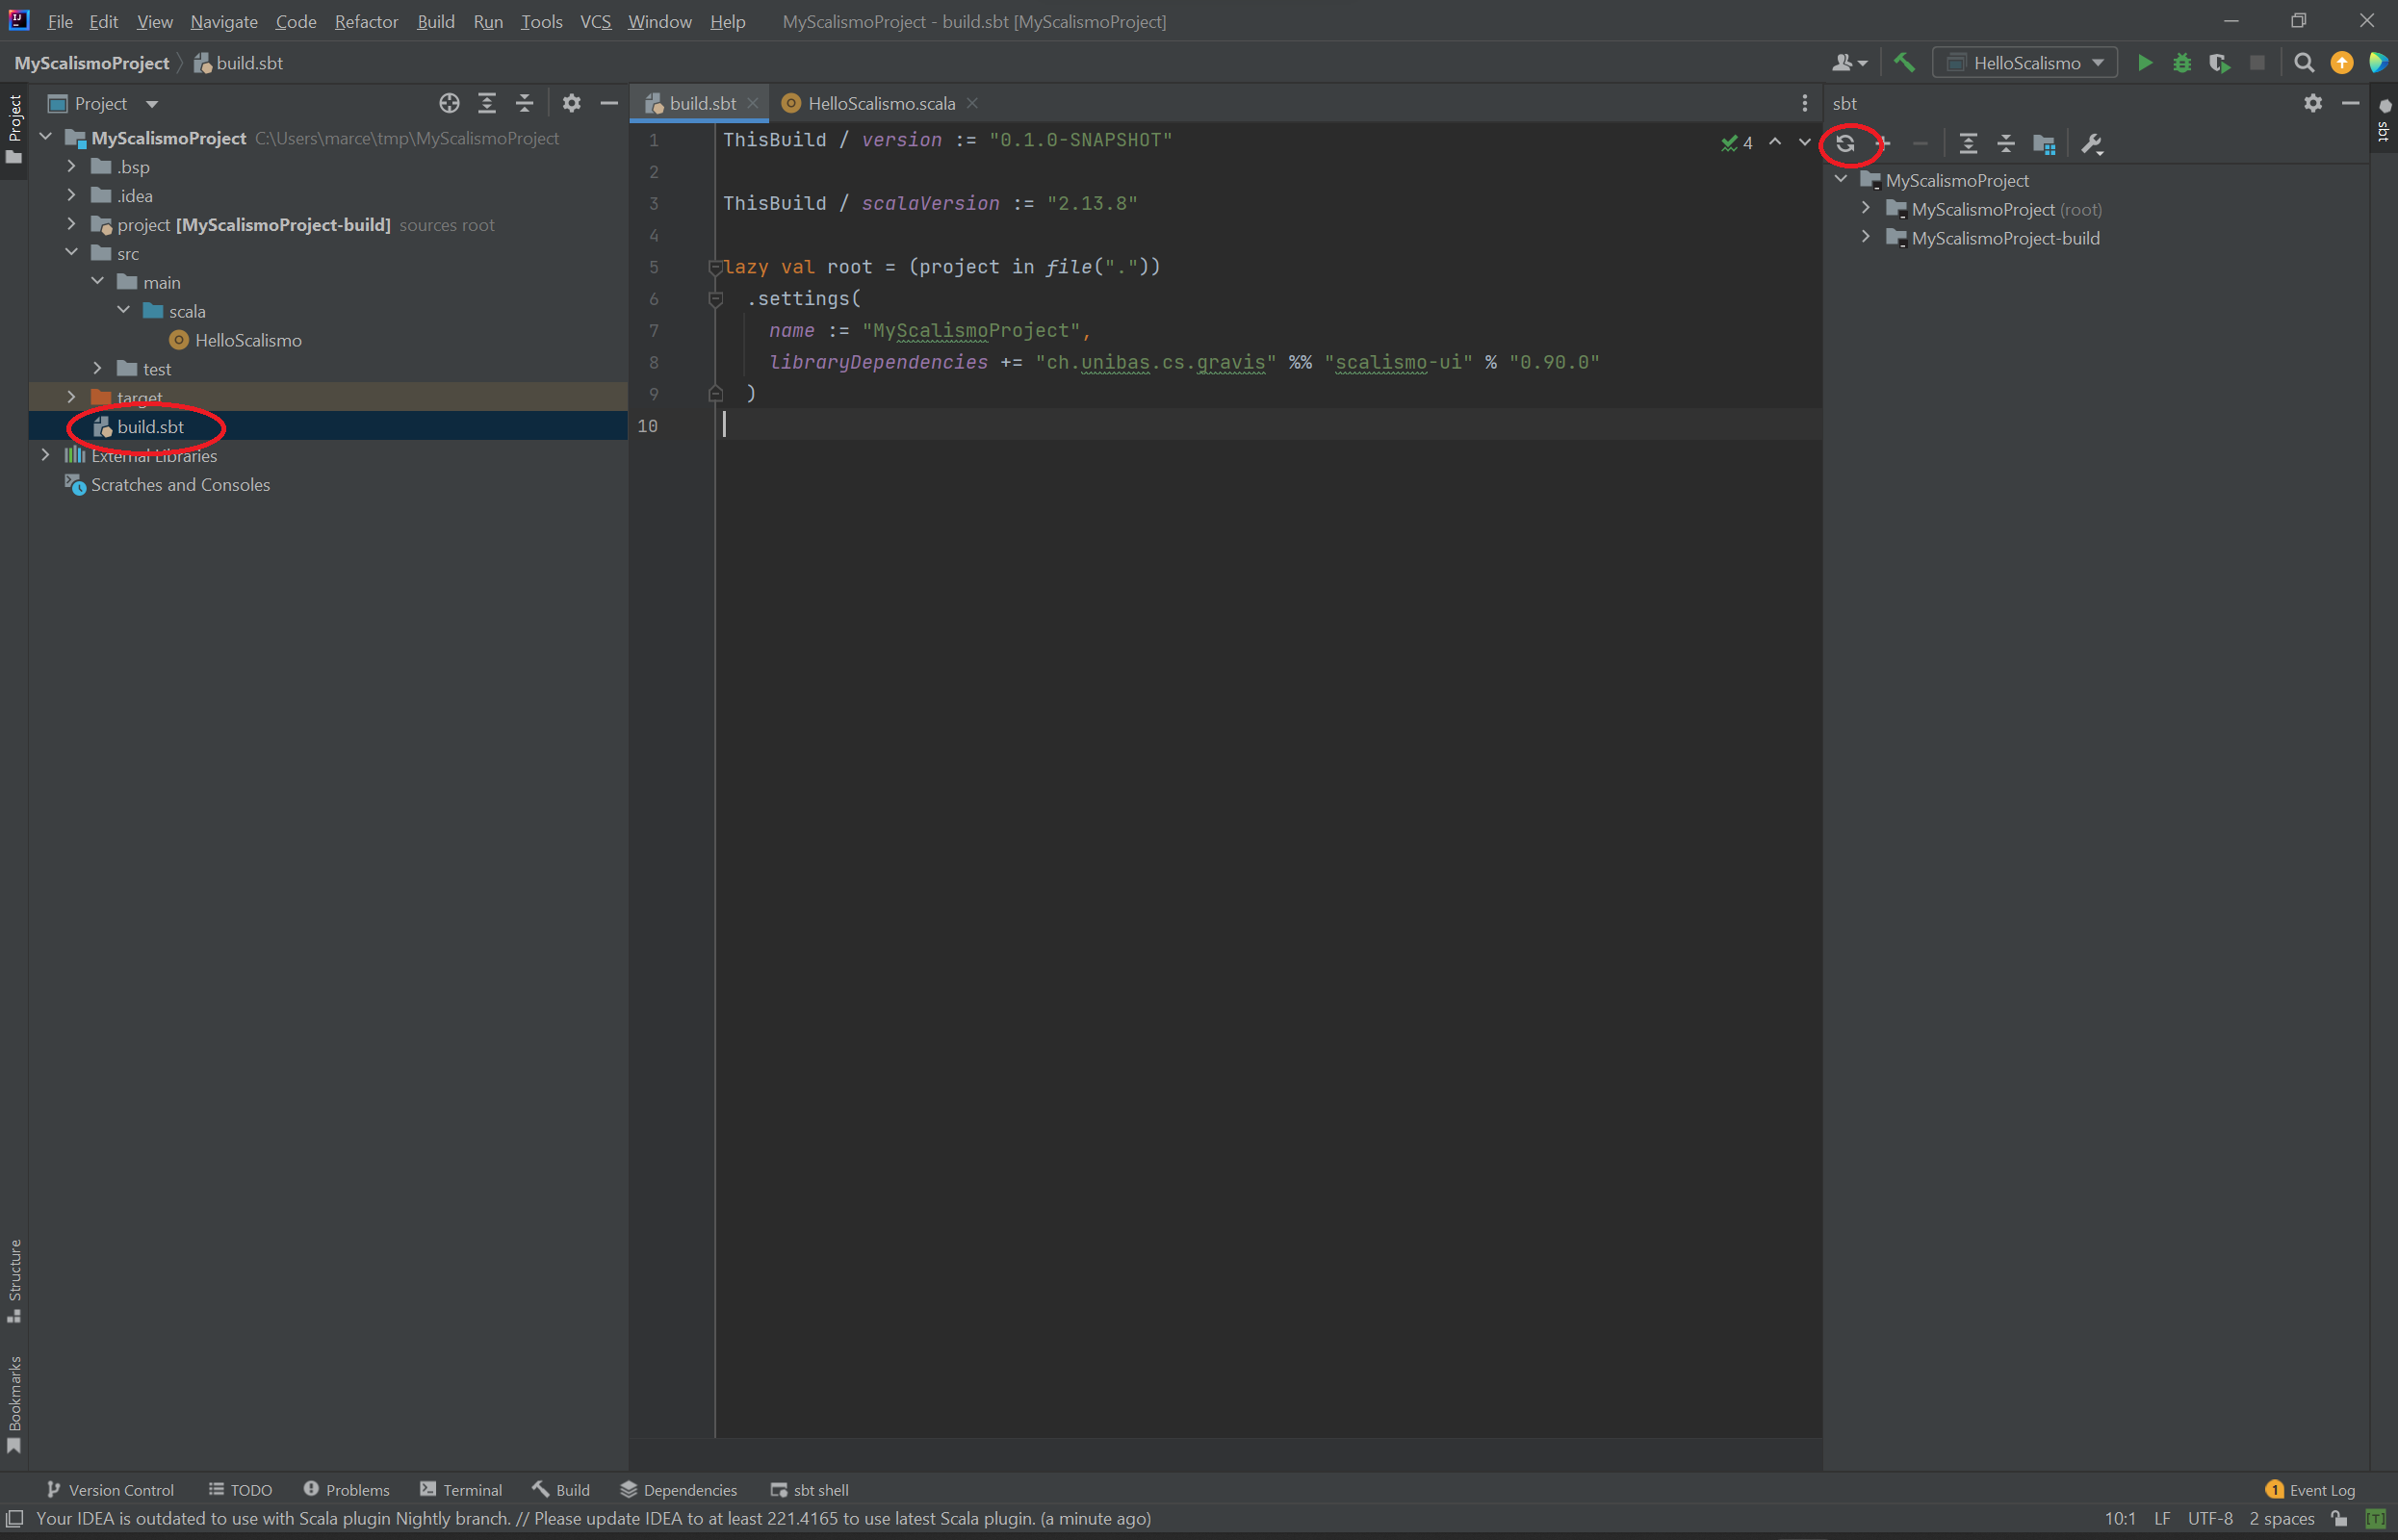
Once all the importing is done, you should then be able to navigate through the project folder and find a file called build.sbt.
If you are on Windows, Linux or on a Mac with an Intel processer, add the following line to the settings section
libraryDependencies += "ch.unibas.cs.gravis" %% "scalismo-ui" % "1.0-RC1"
If you are using a Mac with an M1 or M2 processor, add instead the following line:
libraryDependencies += "ch.unibas.cs.gravis" %% "scalismo-ui" % "1.0-RC1" exclude("ch.unibas.cs.gravis", "vtkjavanativesmacosimpl")
Reload all sbt projects on the sbt tab on the right:
This should now add the scalismo library to your project.
We are now ready to write our first Scalismo program: Navigate to the folder
src/main/scala/ right click on it and choose new scala class.
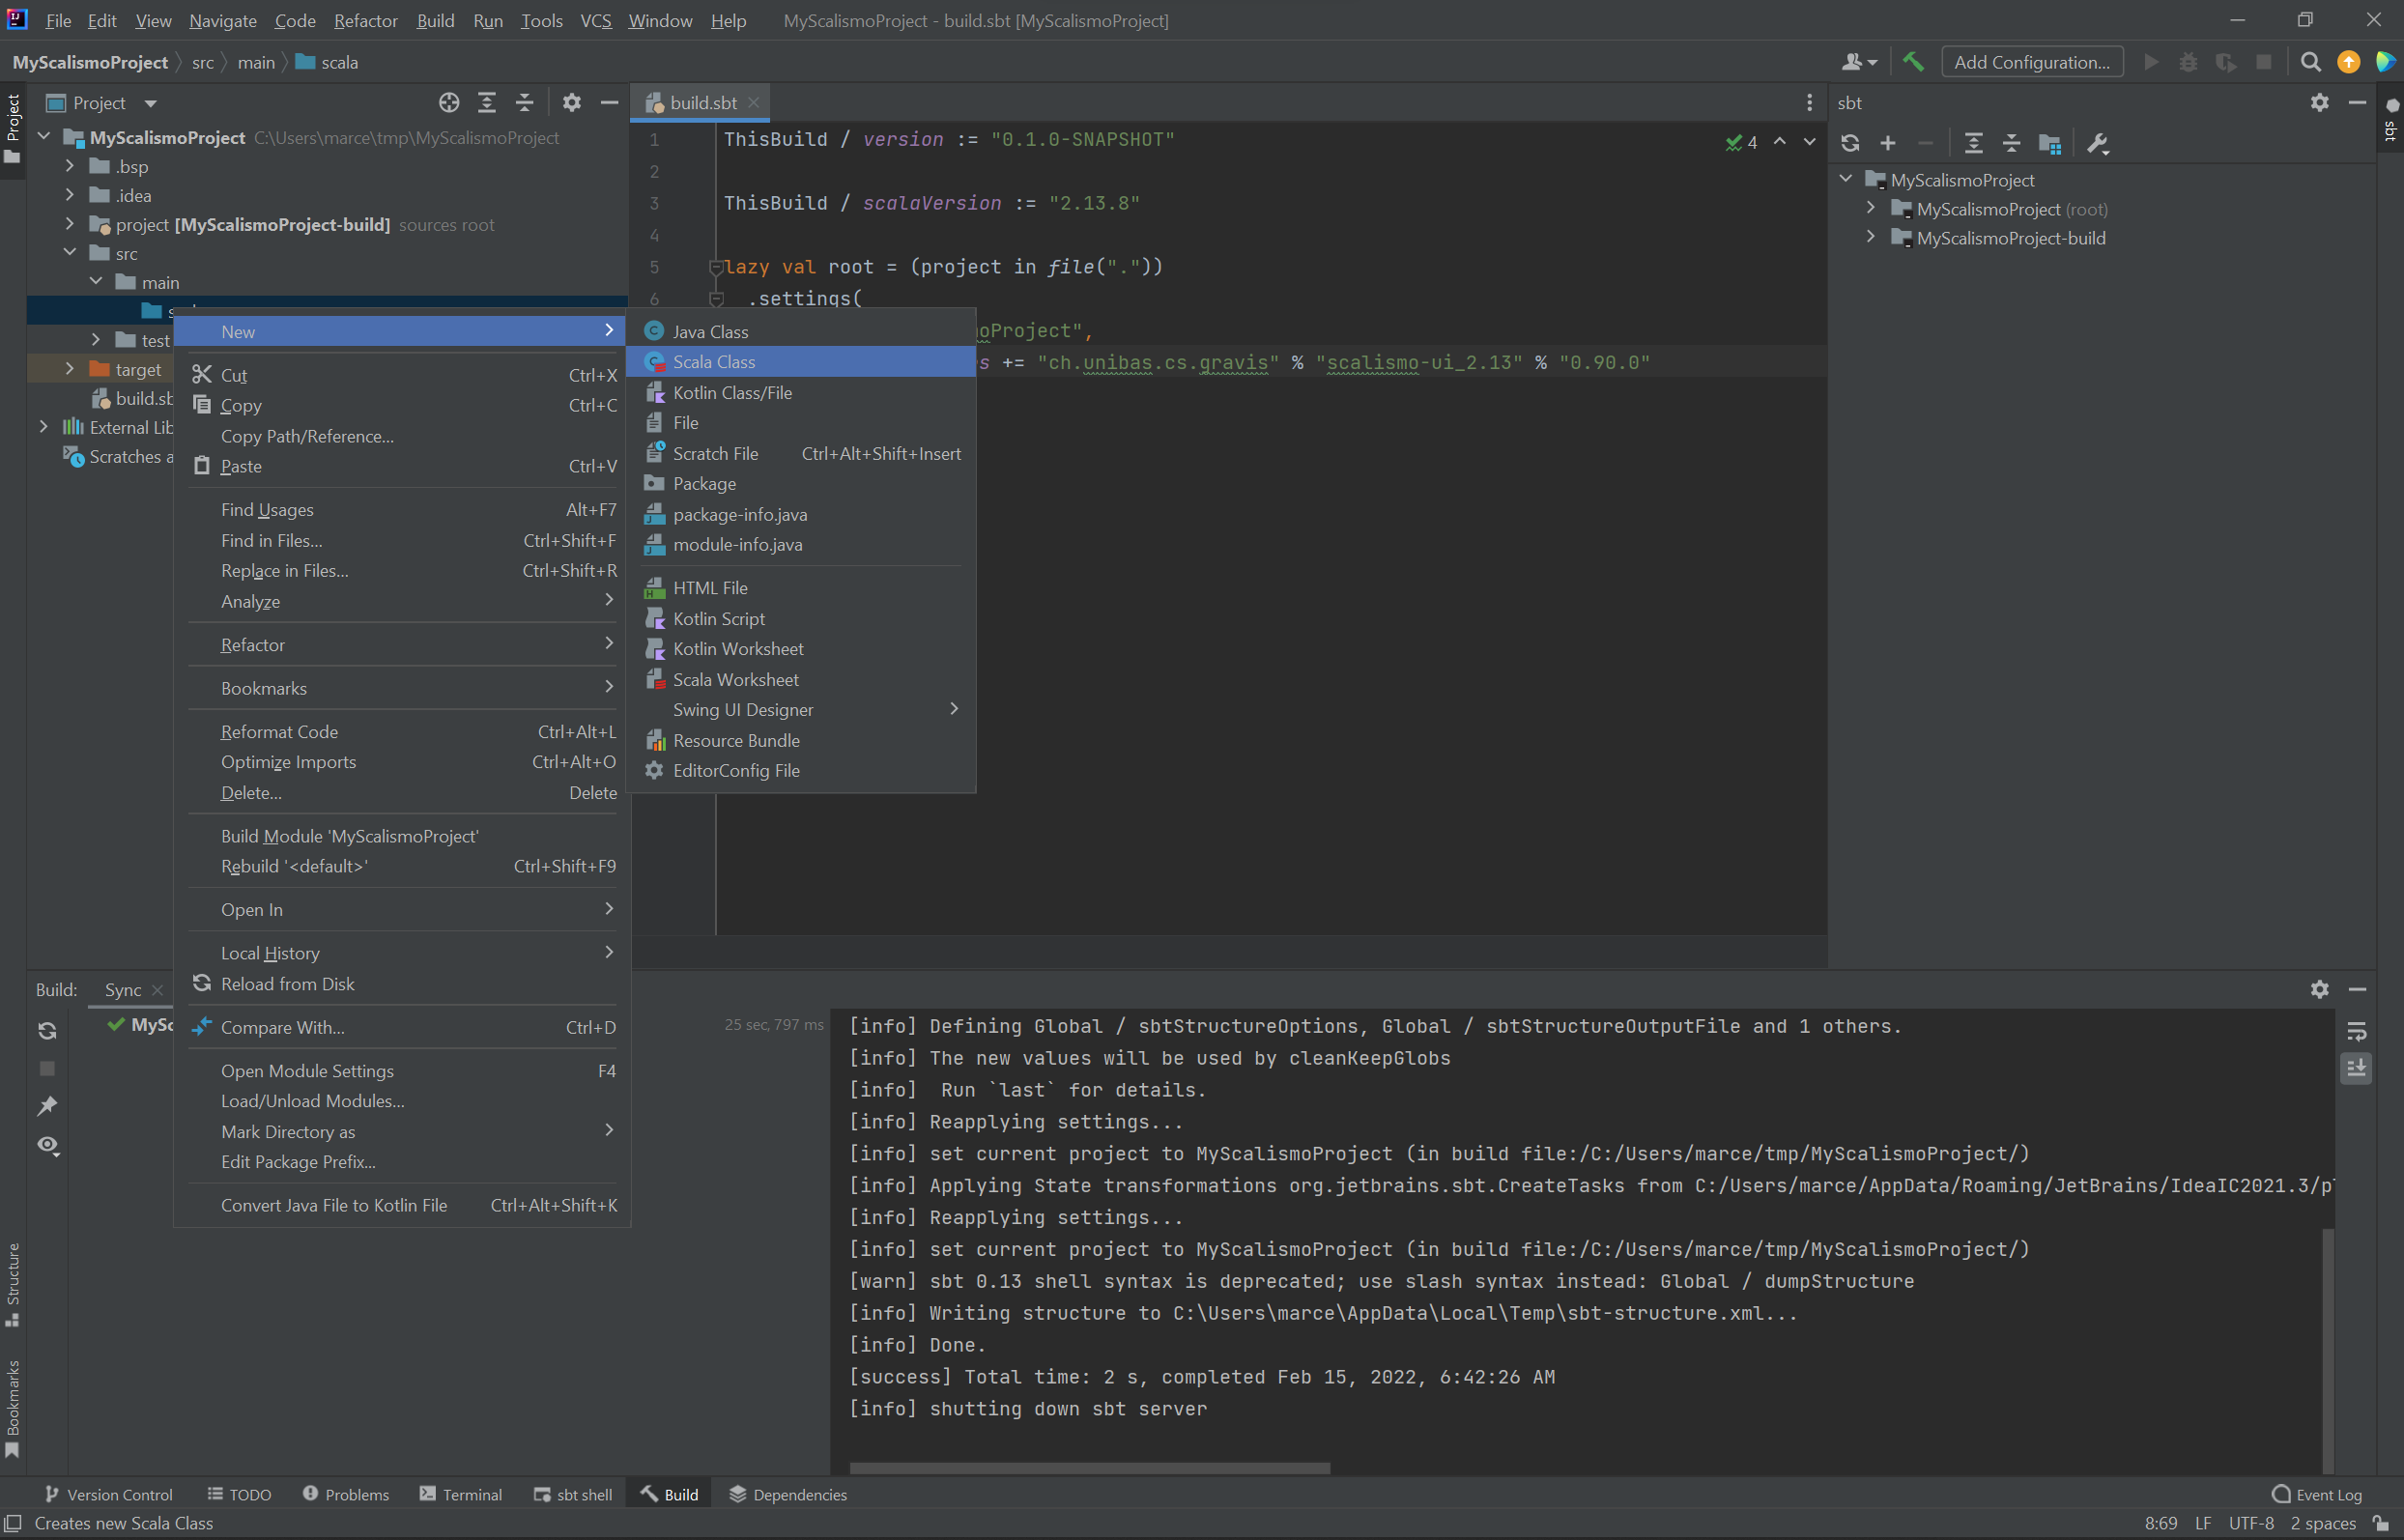
Give it an appropriate name (such as HelloScalismo) and choose Object in the list below. This will create a new Scala File, which you can change as follows:
import scalismo.ui.api.ScalismoUI

object HelloScalismo extends App {

  val ui = ScalismoUI()
}
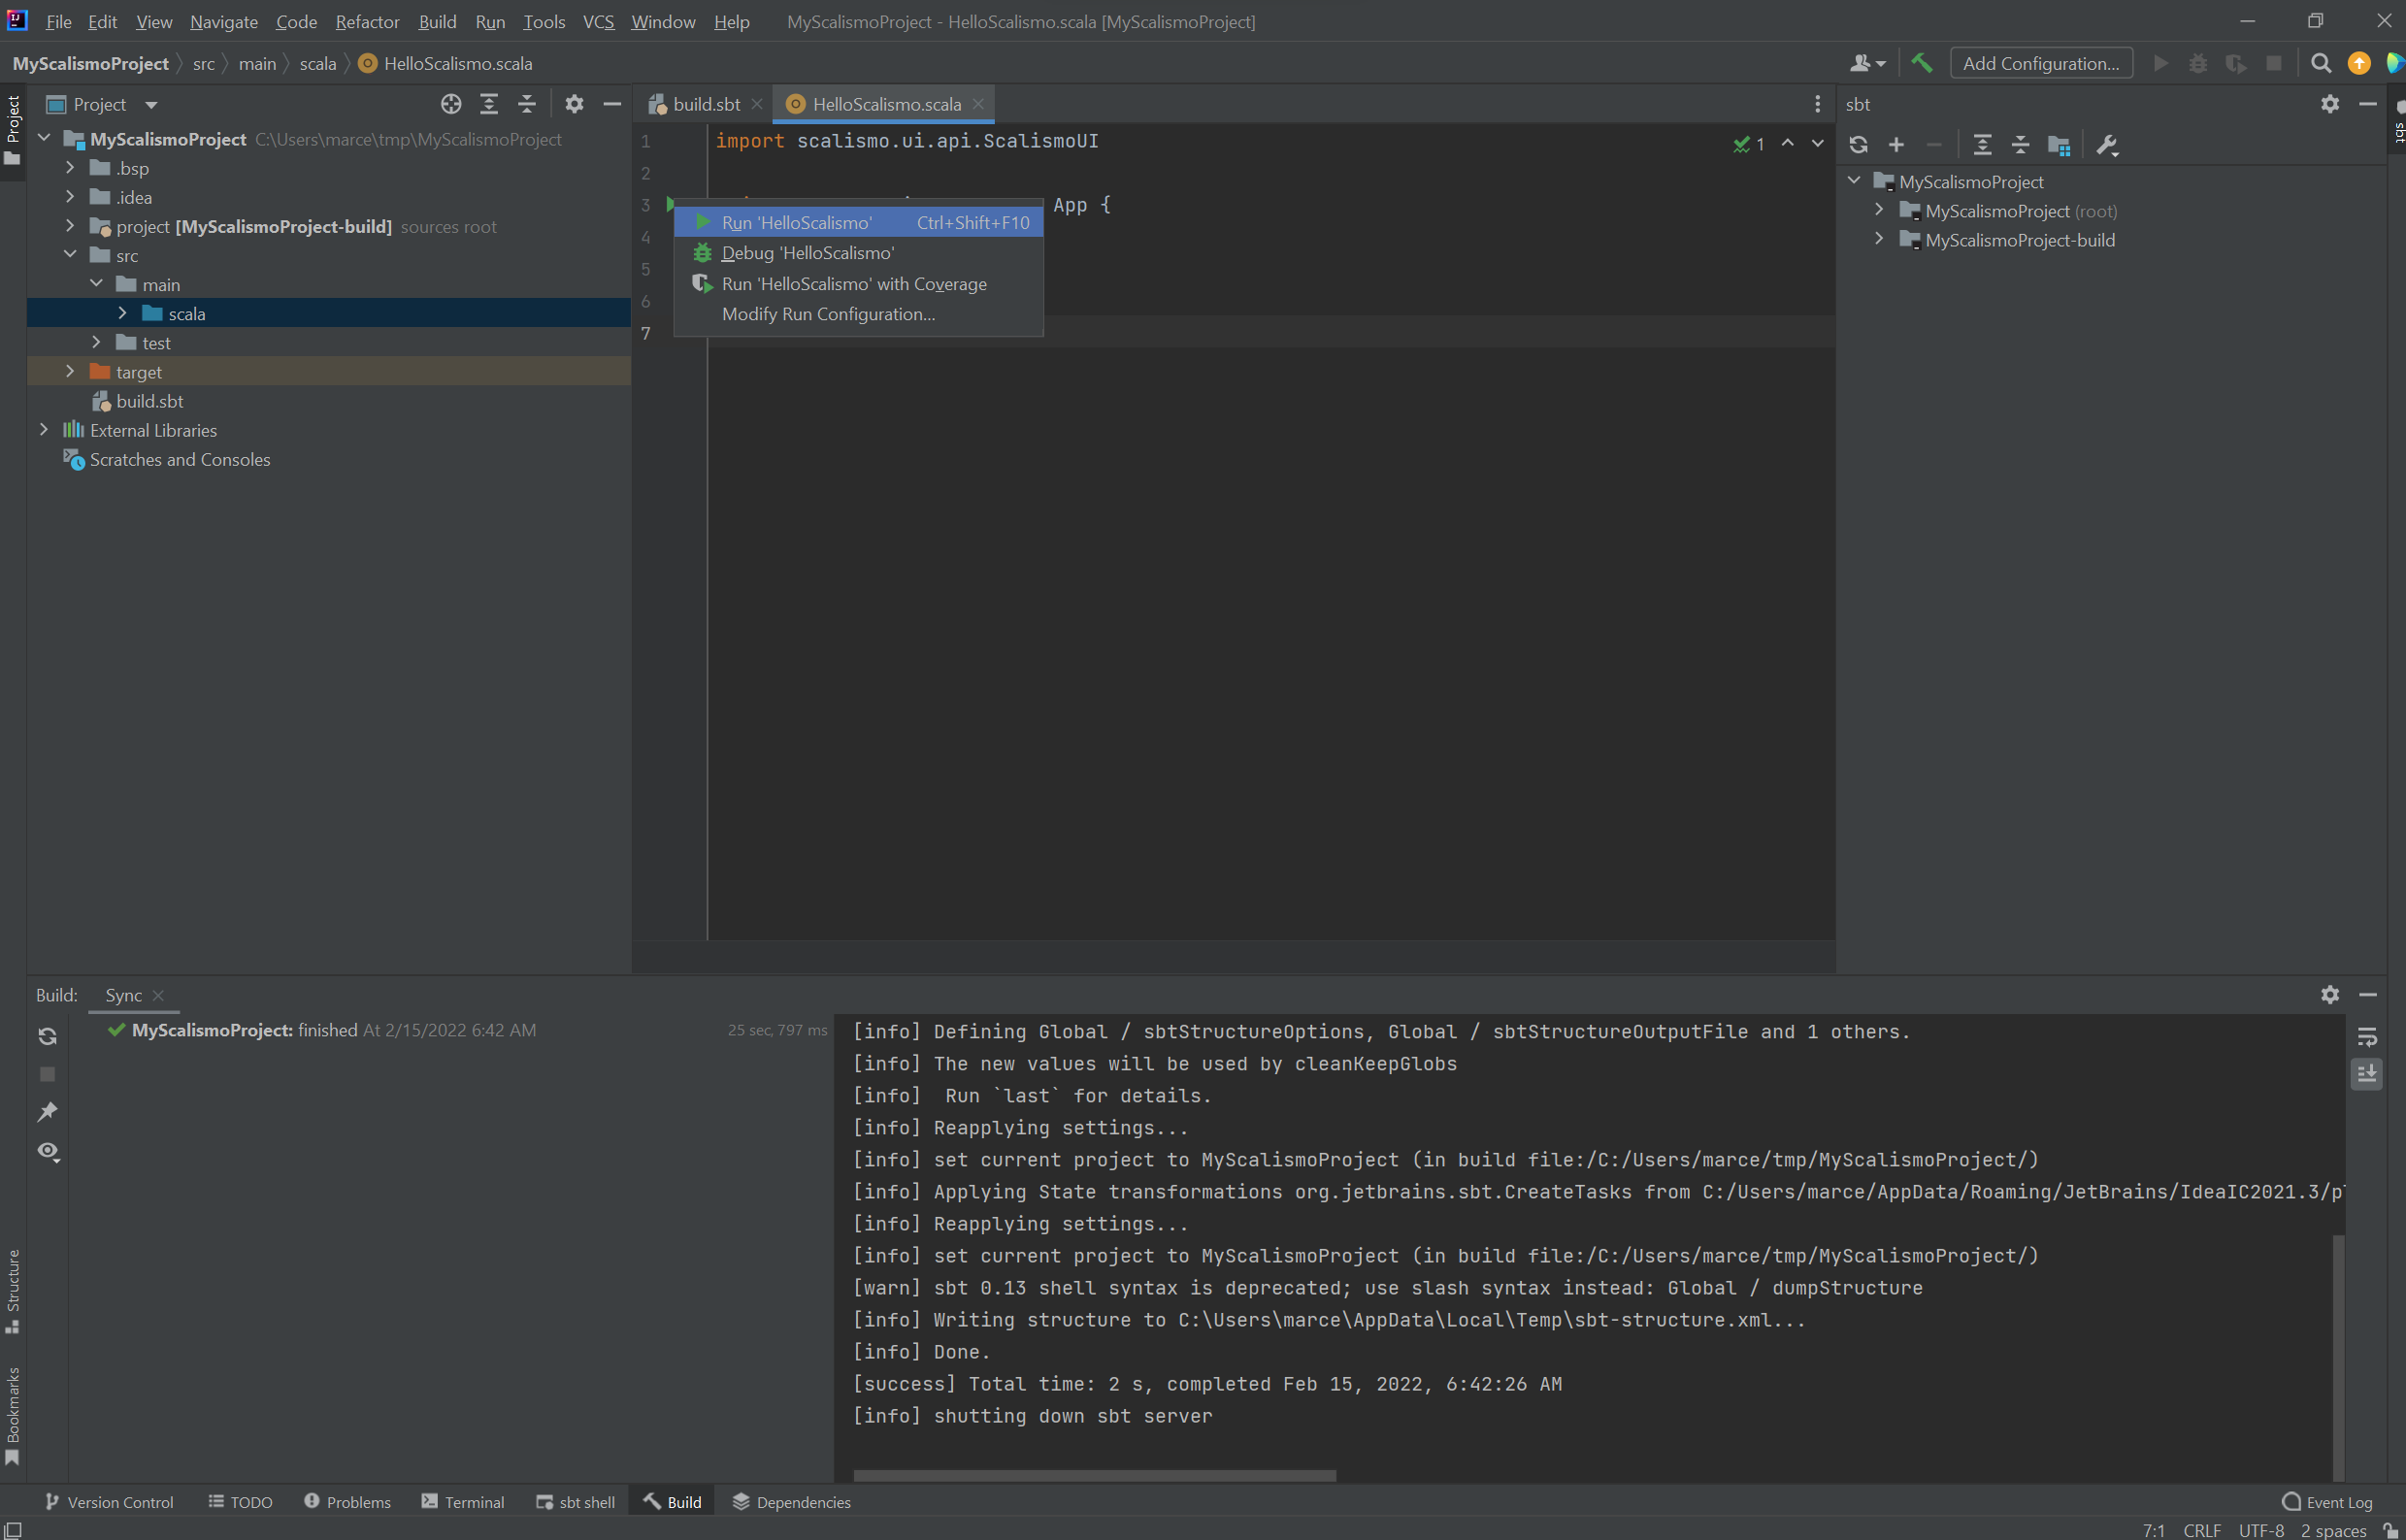
By choosing run, using for example the green arrow next to the object, you can start
the program: