Using Scalismo with scala-cli and VSCode
In this article we describe how to set up Scalismo, such that it can be used to program shape modelling applications using VSCode as an editor. This is the recommended setup to get started with developing in Scalismo. It is powerful, but still relatively light-weight, compared to using a full blown IDE such as IntelliJ IDEA.
Install VSCode
Download and install VSCode as described in the official documentation.
Install Scala-CLi
Install Scala-CLI by following the Installation guide for your operating system.
Running the first Scalismo program
Now we are ready to run our first program.
Open an editor and create a file HelloScalismo.scala with the following content:
//> using scala "3.3"
//> using dep "ch.unibas.cs.gravis::scalismo-ui:1.0-RC1"
// !!! if you are working on a Mac with M1 or M2 processor, use the following import instead !!!
// //> using dep "ch.unibas.cs.gravis::scalismo-ui:1.0-RC1,exclude=ch.unibas.cs.gravis%vtkjavanativesmacosimpl"


import scalismo.ui.api.ScalismoUI

object HelloScalismo extends App {
    ScalismoUI()
}
You can run the program, by calling
scala-cli run HelloScalismo.scala
On MacOS, you might have to call instead
scala-cli run --jvm system HelloScalismo.scala
in order to instruct scala-cli to use the system JVM that you installed before.
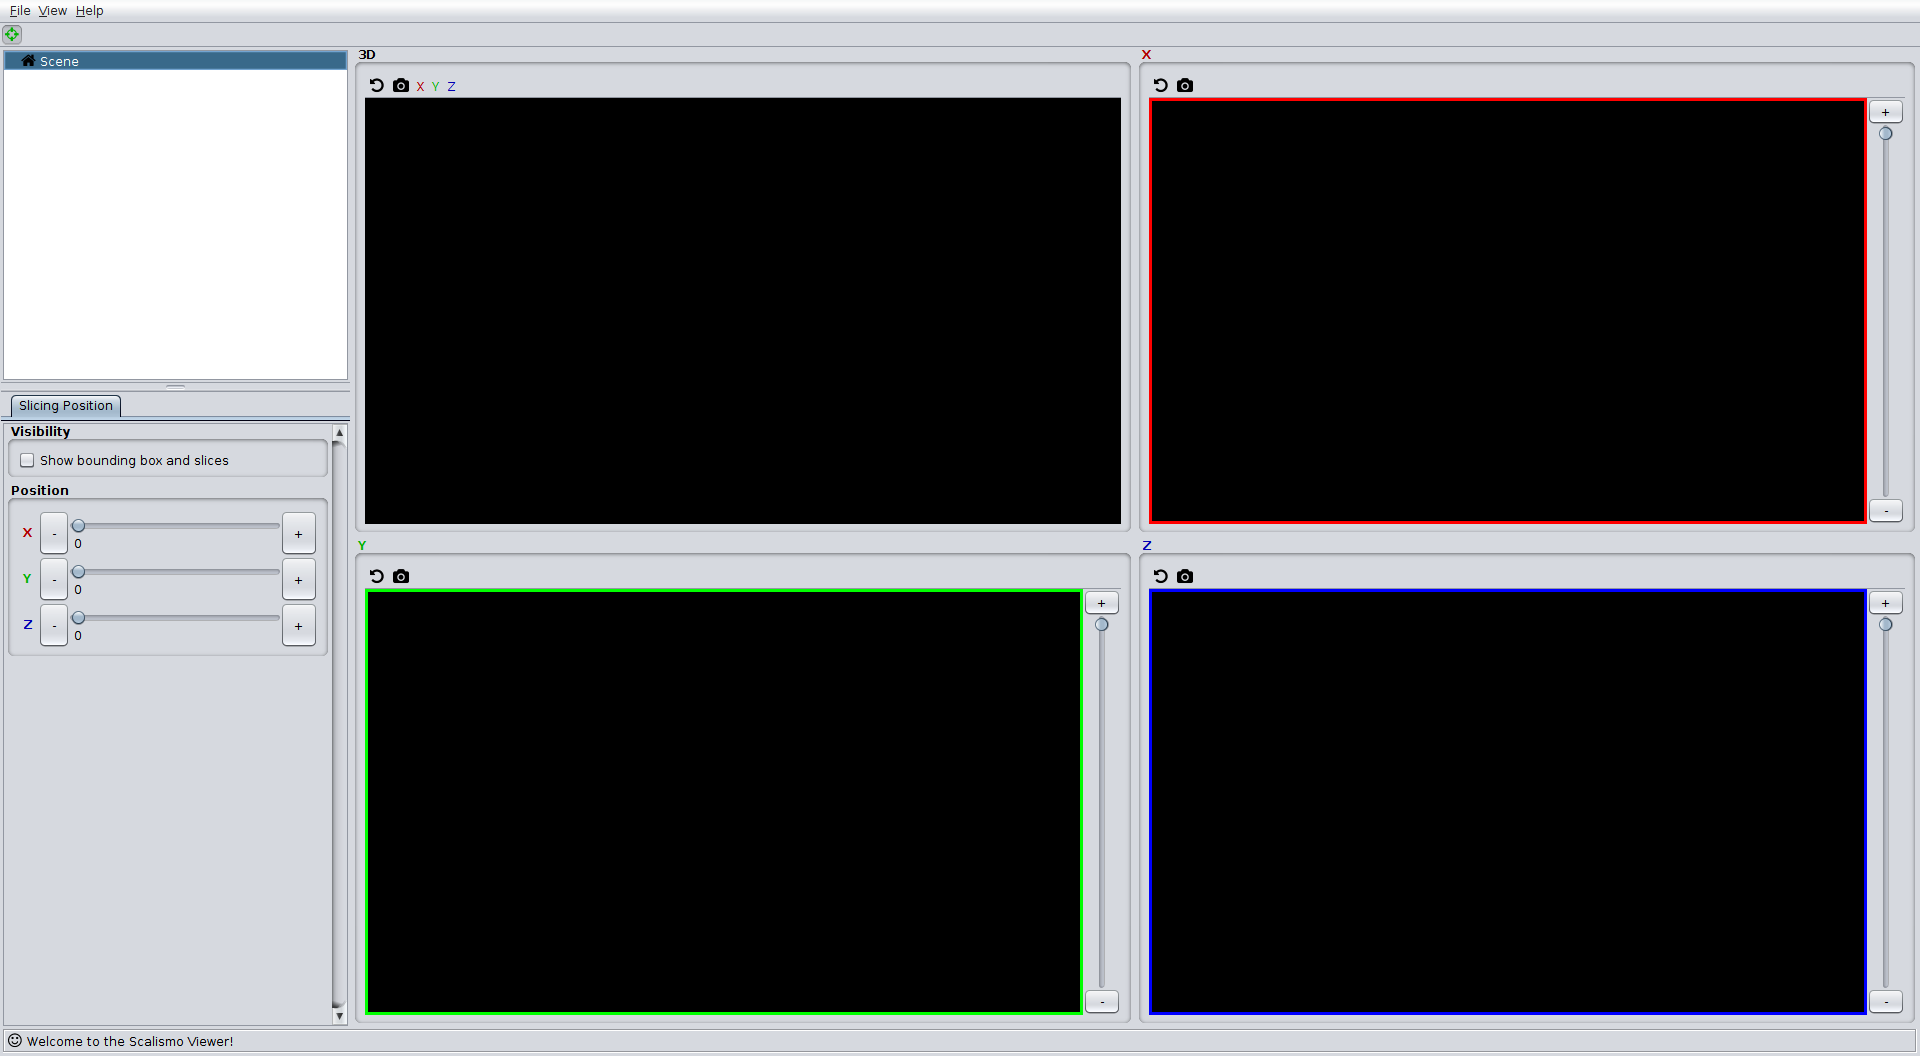
If it runs successfully, you should see the following window appearing

Setting up VSCode as an IDE
To setup the necessary environment for using VSCode as an ide, the following command can be used.
scala-cli setup-ide .
or on MacOS
scala-cli setup-ide --jvm system
After starting vscode with the command
code .
(or by starting it from the start menu and choosing File->Open Folder...), VSCode should appear with the project correctly configured. After successful initialization run buttons should appear, with which you can start the project.
On MacOS it might happen that the program crashes when starting it using the run
buttons. In this case the JVM is not correctly configured. An easy workaround is
to open a terminal (from within VS Code) and use
scala-cli run --jvm system as above to run the code. All the other editing features of VSCode (like autocompletion, refactoring, showing syntax errors, etc.) should work with any JVM